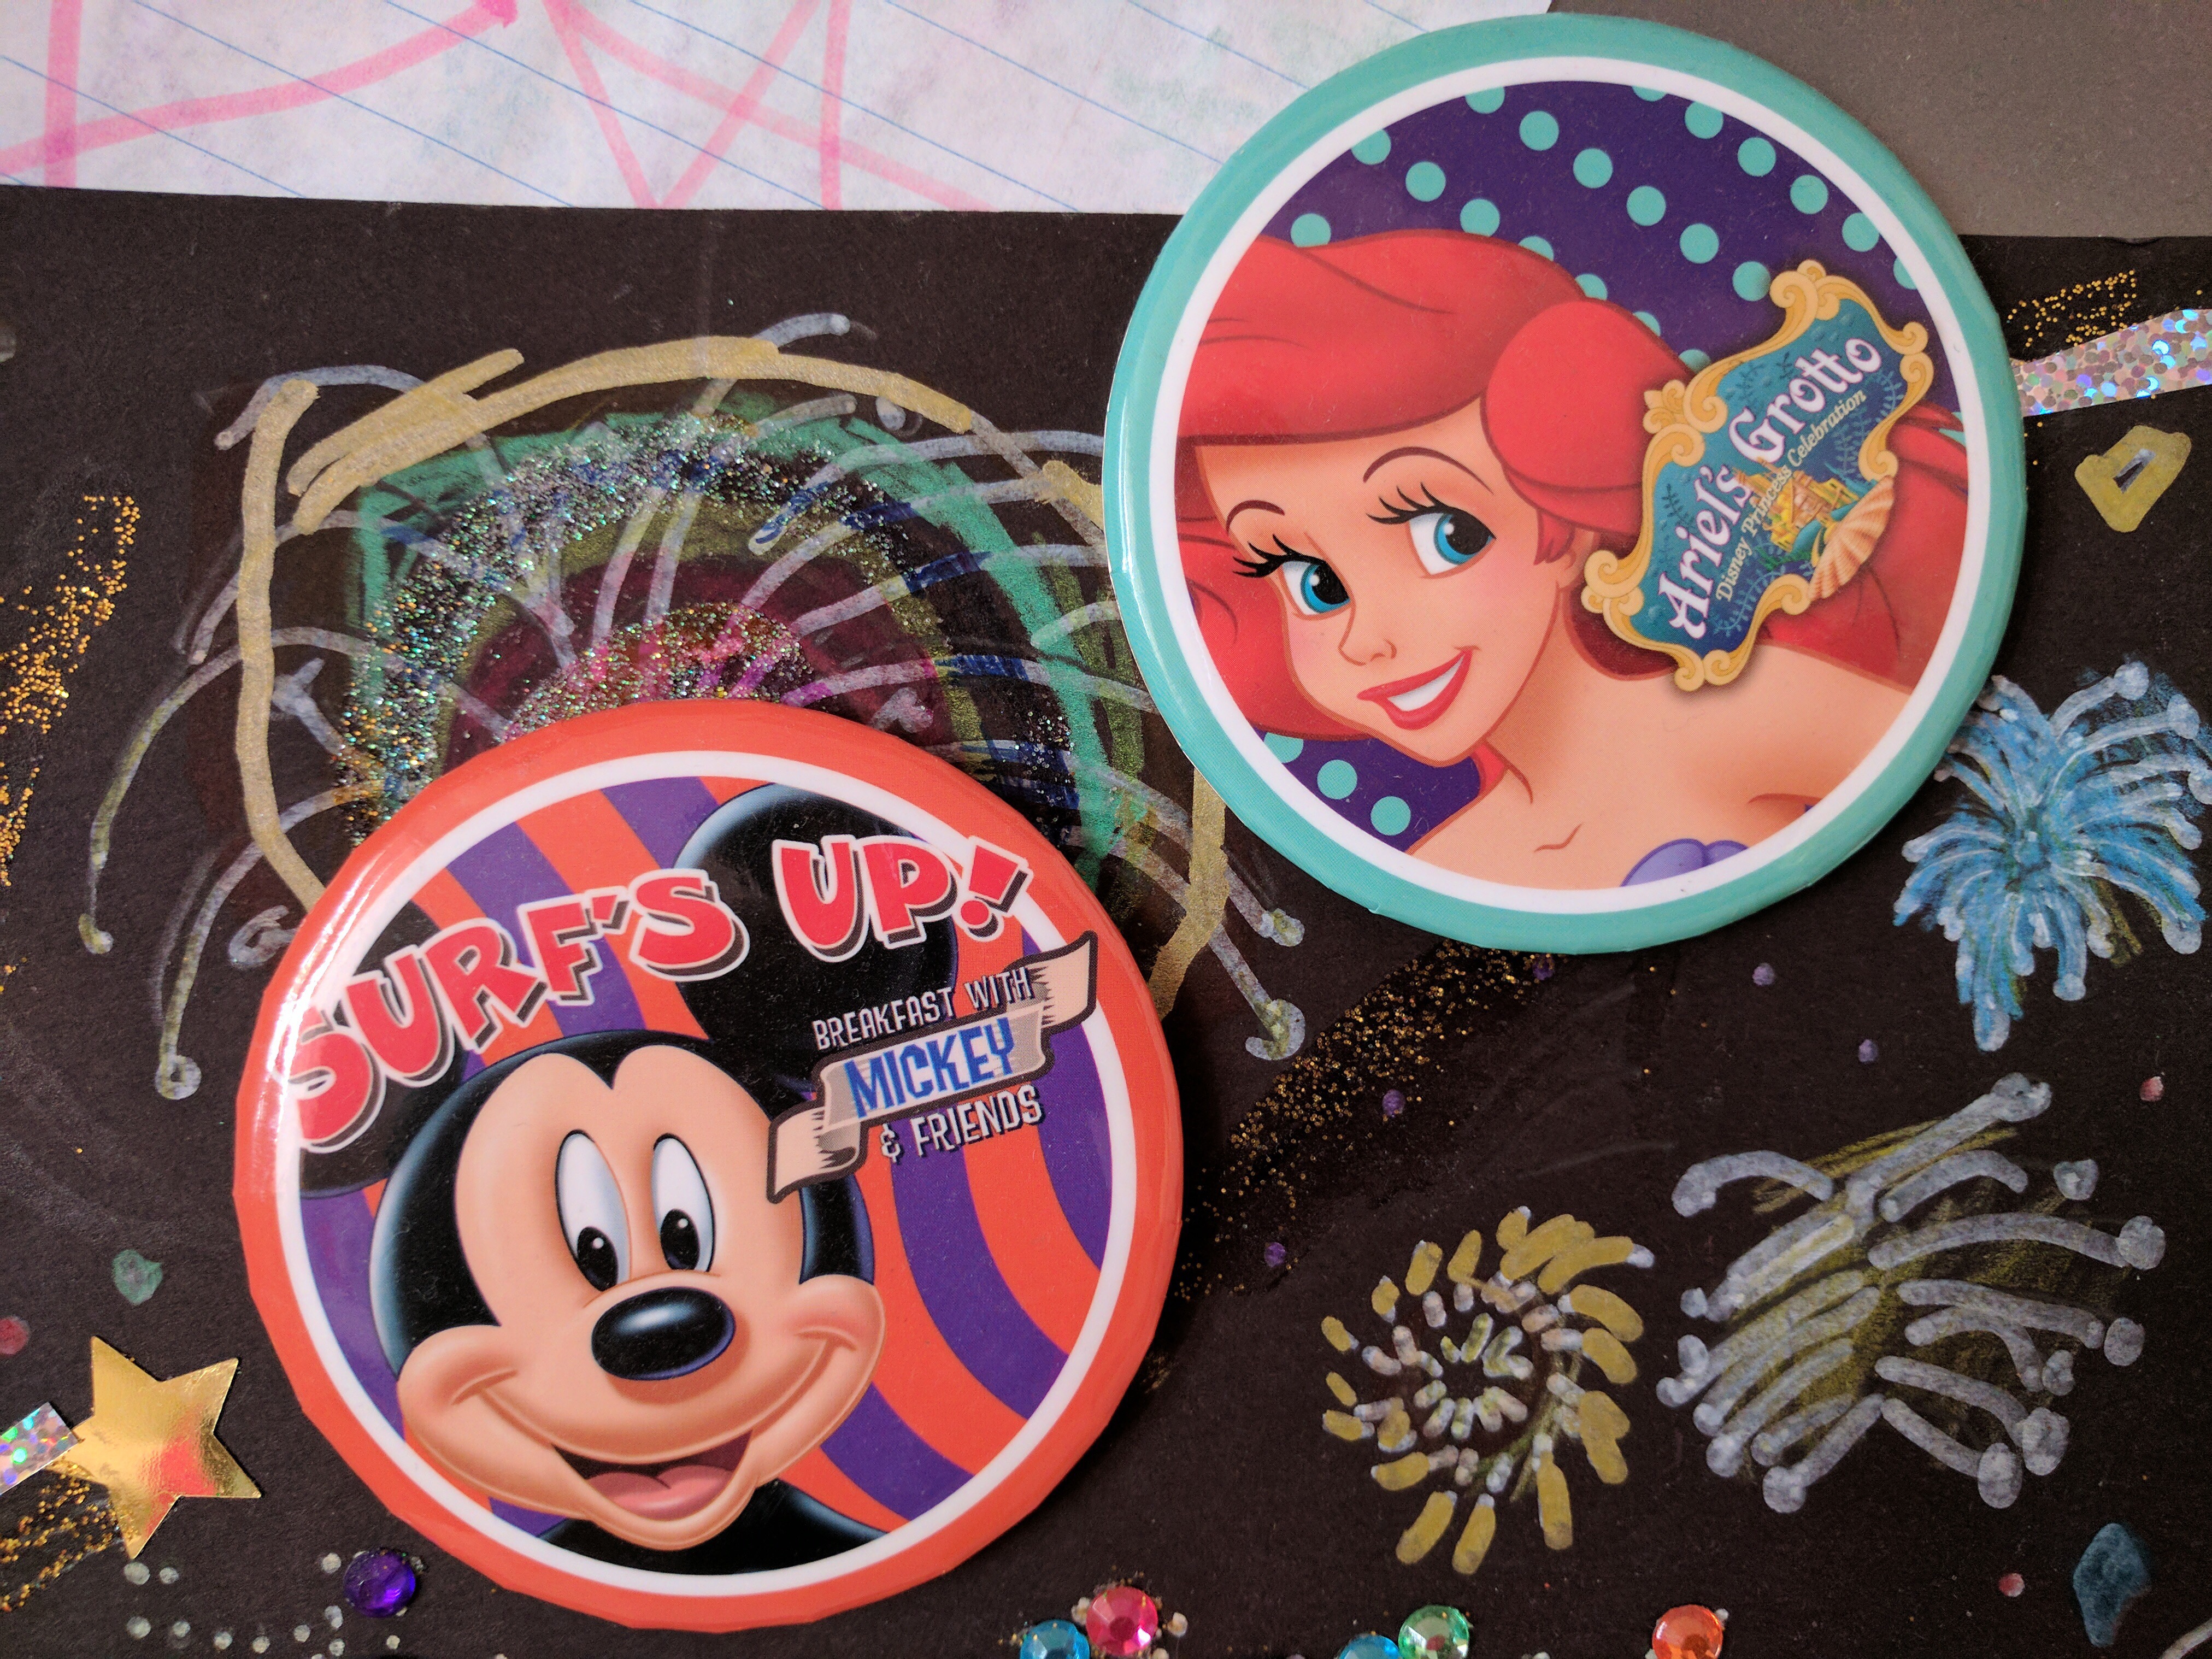
 Buttons – By now many of you know that free buttons can be obtained from character meals, and ones that commemorate special events can be requested for free from City Hall in Disneyland and the Chamber of Commerce at Disney’s California Adventure. But what should you do with them when you get home? More than likely you’ll throw those big buttons in a drawer and never use them again. Don’t waste them! Make them into usable magnets!
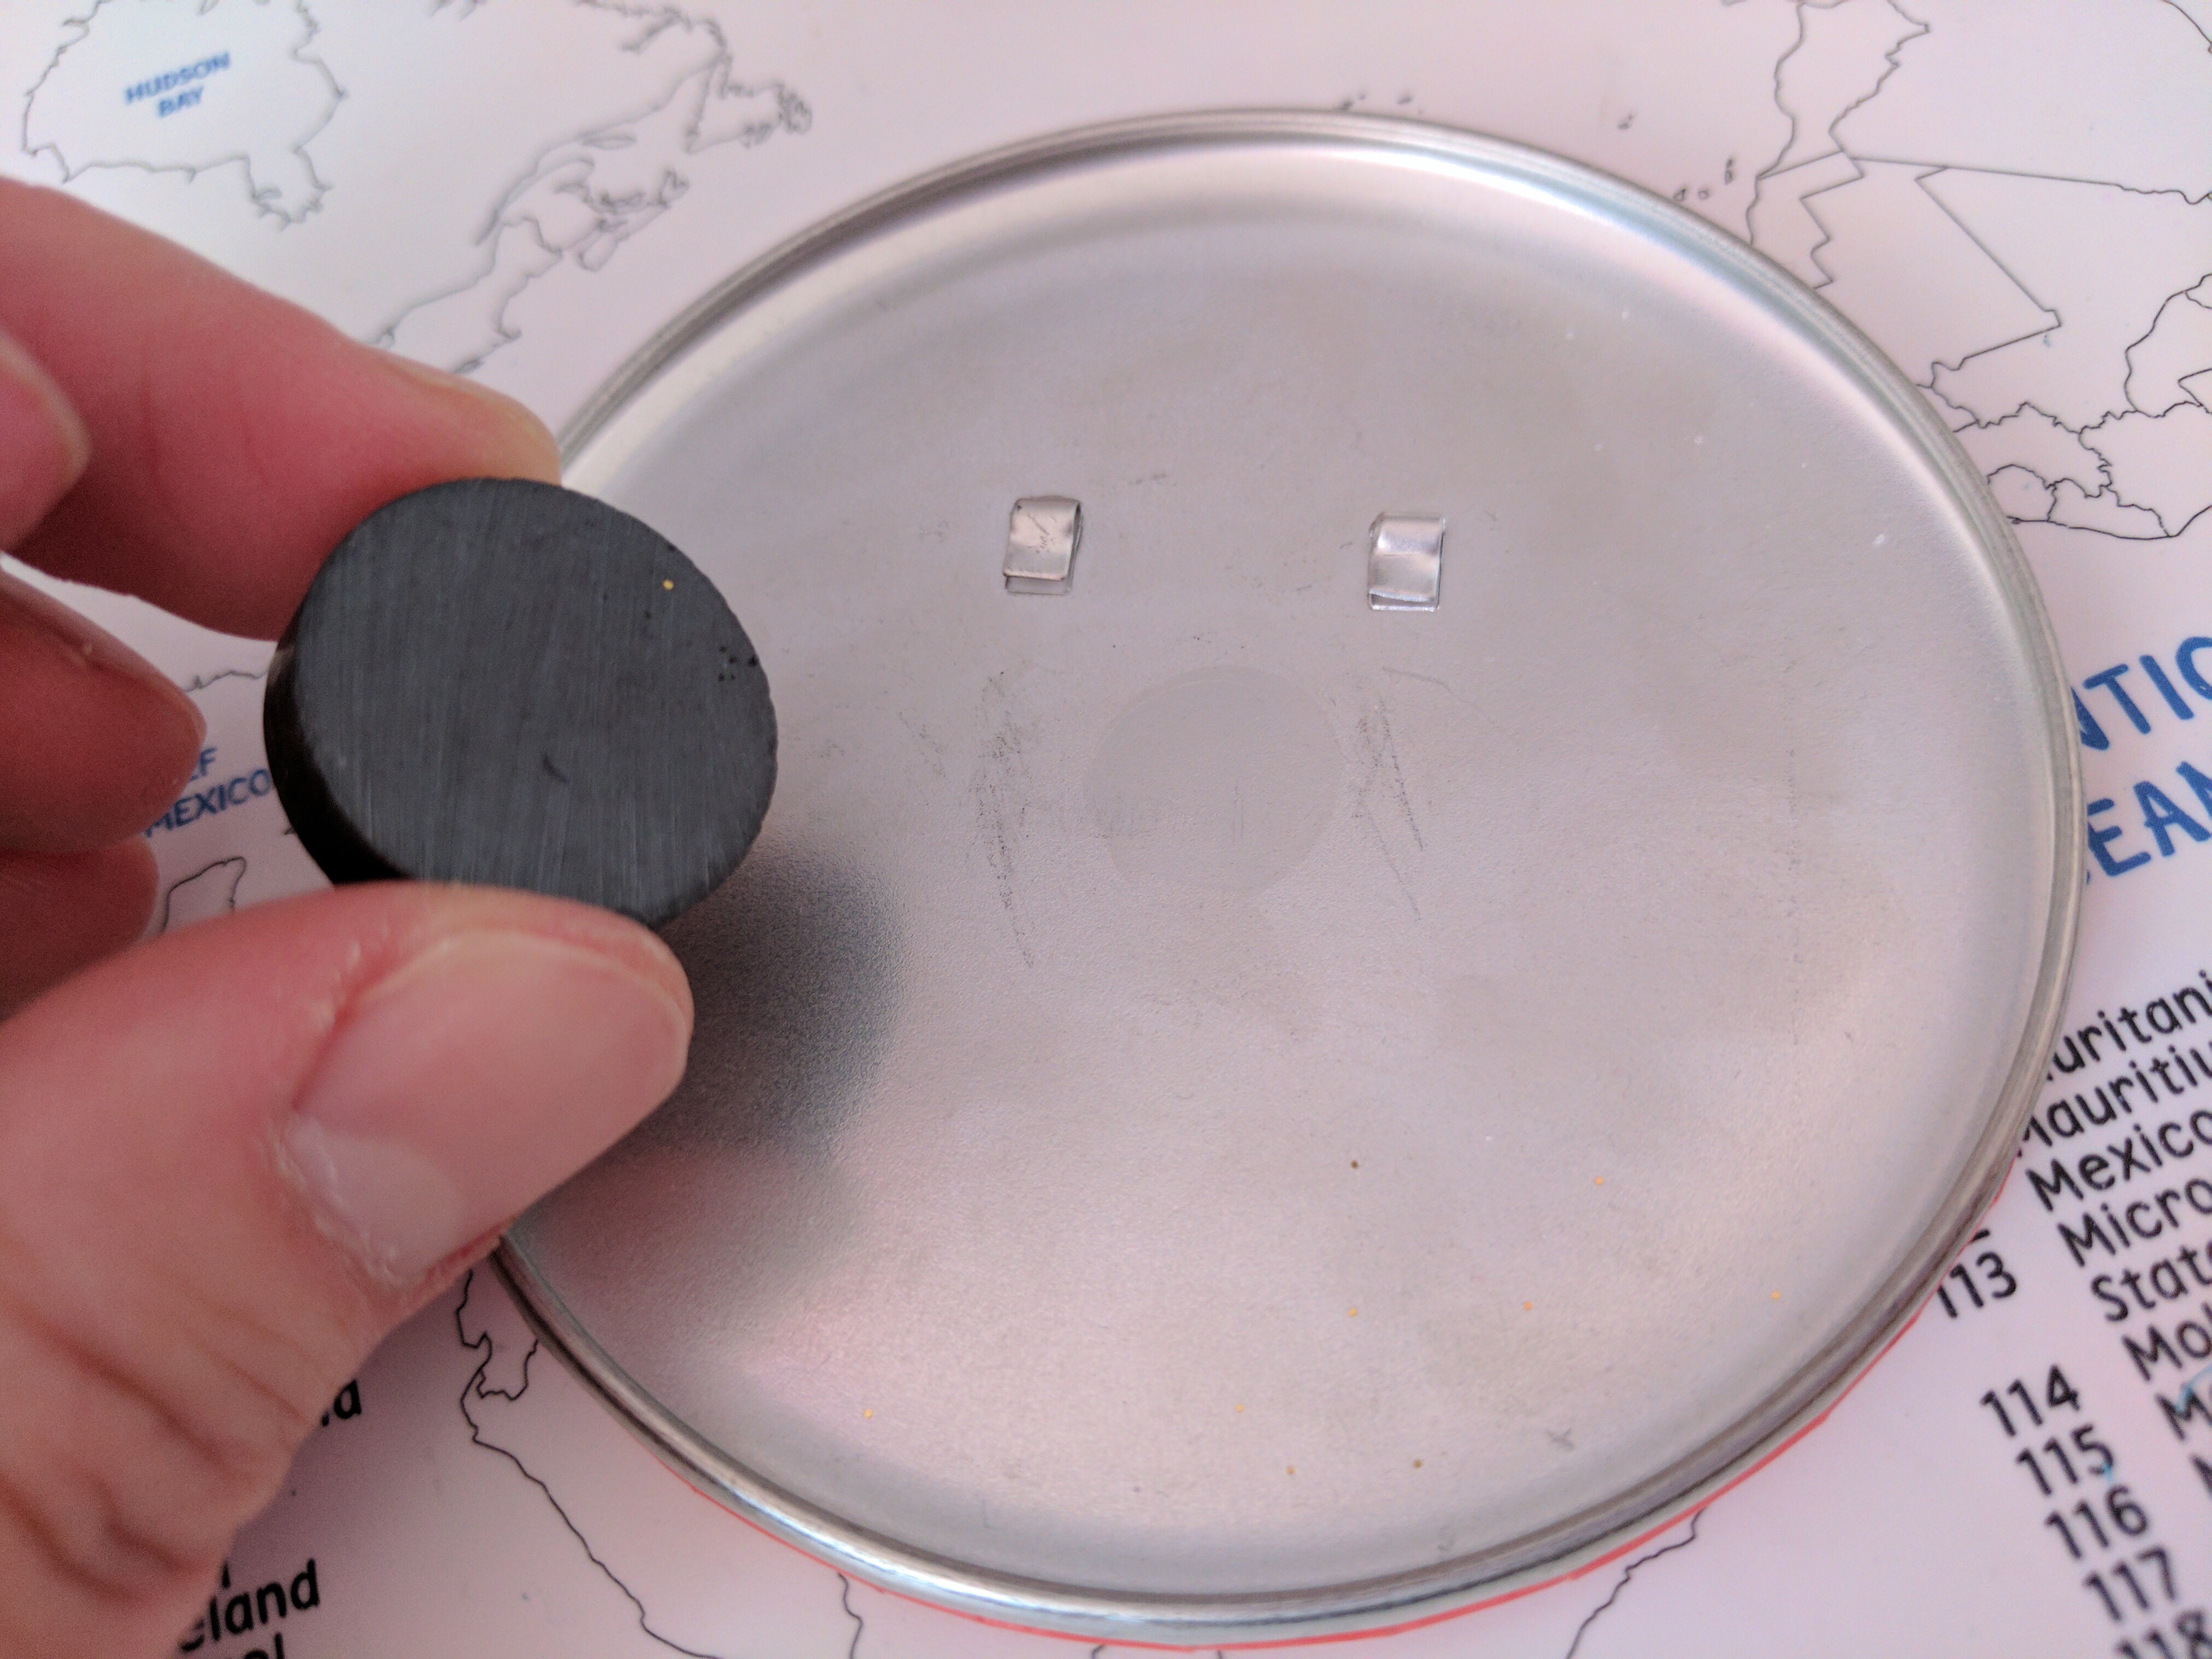 First, put a little muscle into it and pull the pin off the back of the button. It’s very lightweight bendable tin so you don’t even really need a tool for it, but feel free to use some pliers or something if you need to. Then grab some single magnets (make sure they’re thicker than the button) and a glue gun from the craft store, and glue the magnet to the back of the button. Let dry and…voila!
Animation Academy – Not only is the Animation Academy in Disney’s California Adventure a great place to learn how to draw one of your favorite Disney characters (and a nice escape from the chaos of the park), but the finished product can make a great free memento of your time at Disneyland. My sketch of “Angry Donald” wearing Mickey Ears turned out so well, we decided to frame it and put it on the wall. Just make sure you bring a rubber band with you to the park so you can roll it up and bring the drawing home safely without ruining it.
Target – The Target store two miles away from the Disneyland Resort (12100 Harbor Blvd. in Garden Grove) is the perfect place to hit up before heading to the parks. Stock up on easy to carry snacks for your trip and bottles of water, as well as zippered sandwich bags. I don’t know why but I always have some in my backpack. They’re great for leftover food, wet clothes (post Splash Mountain or Grizzly River Run), or whatever else happens.
But besides the basic necessities, this Target has a very large selection of authentic Disney licensed merchandise! It’s spread out in a few places around the store, but most of it can be spotted as you enter and also in the clothing section near checkout. Pickup t-shirts, sweatshirts, hats, water bottles, hoodies, magnets, keychains, lanyards, stuffed Disney character toys, and a whole bunch of other knick knacks for souvenirs or as gifts. They’re a fraction of what you would pay inside the park for similar merchandise. However, most items sold at the parks are Disney Parks exclusive merchandise, so don’t expect to find the exact same items at Target. Also note that the pins they sell are not tradeable Disney Parks labelled pins, but are still real licenced Disney merchandise and can still make a great souvenir.
Disney Store – It pays to go to an actual Disney Store, or www.disneystore.com, before your trip to purchase items such as autograph books for characters to sign, stuffed toy characters, or authentic Disney Parks clothing since they have frequent promotions and sales that the Disney Parks stores won’t. Granted, your selection isn’t as vast as it is inside the parks, but it’s still great. And on some occasions I’ve seen the exact same item regularly priced at the park, but on sale at the Disney Store’s online site.


You must be logged in to post a comment.